restaurant menu cover photo guide
How to Get a Perfect Cover Photo for Your Restaurant Menu Gallery
26 May 2026 · 5 min read
Learn how to shoot or generate better restaurant cover photos for your digital menu gallery with side-by-side examples, phone camera tips, and free AI prompt templates.
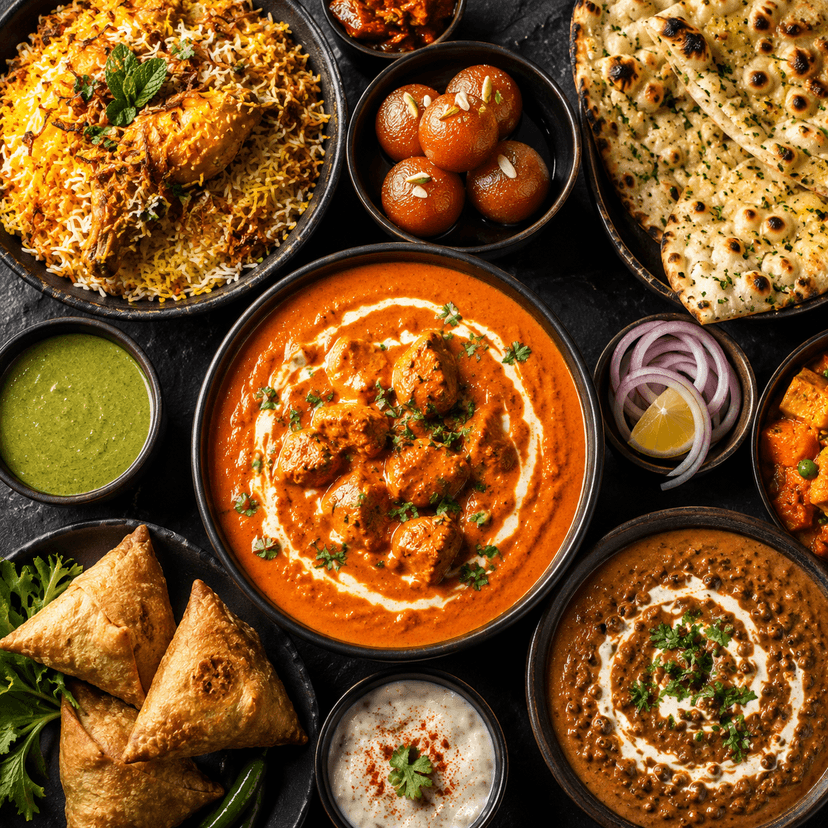
Your menu gallery is the first thing customers notice. A strong cover photo makes them hungry before they read a single item. A weak one makes the category look empty, old, or low quality.
If you use ZapMenu's gallery layout, this guide shows exactly what works, what does not, and how to get great cover photos even if you only have a phone.
If you are still setting up your menu, start with our free digital menu guide for Indian restaurants.
What makes a good cover photo
The gallery card is wide and short, so the photo needs to feel full even after it is cropped. The best images keep the food close, sharp, and well lit, with very little empty background.
A good cover photo usually has four things:
- The dish fills most of the frame
- Side lighting creates depth and texture
- The main food is sharply focused
- The surface is dark, neutral, or lightly textured so the food stands out
Good vs Bad - See the Difference
Set 1 - Close-up vs far away
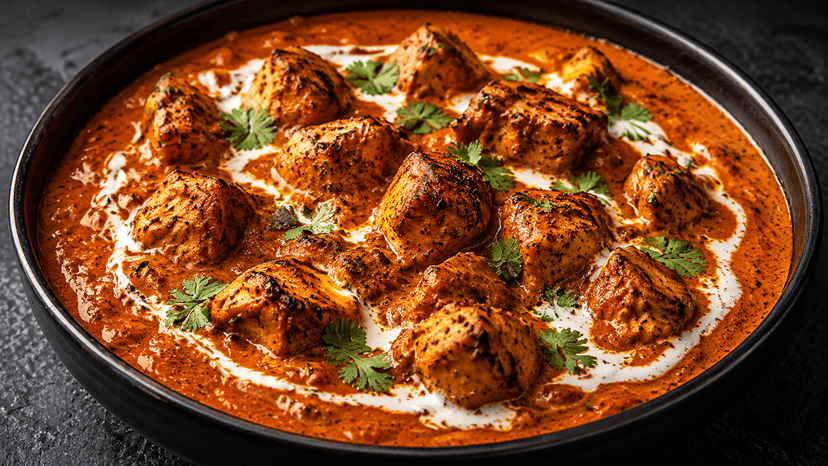
The food fills the frame, so the gallery crop still looks rich and complete.
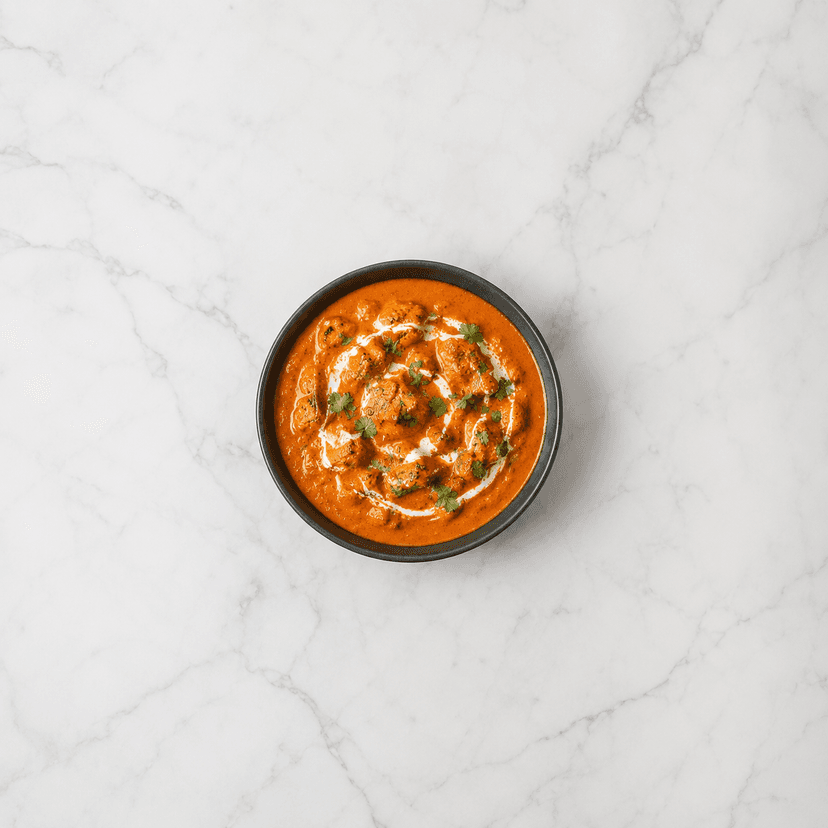
Too much empty space makes the category card look unfinished.
Set 2 - Good lighting vs bad lighting
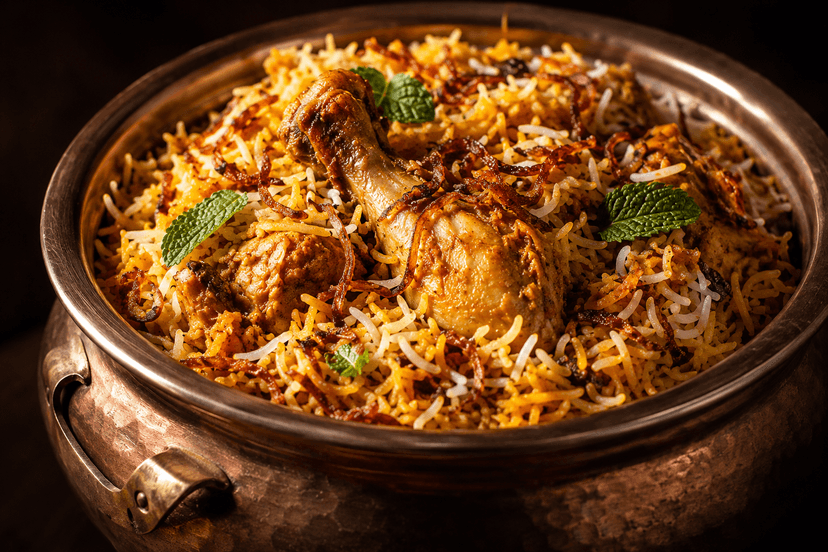
Side lighting adds depth, texture, and stronger color to the food.
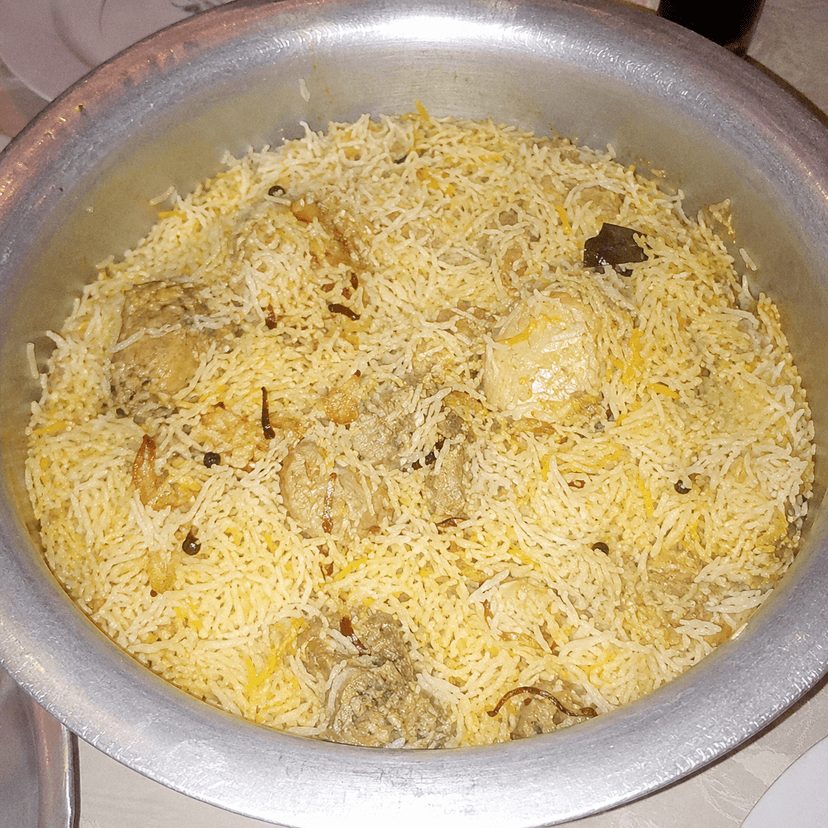
Flash lighting flattens the dish and makes the food look pale.
Set 3 - Natural surface vs black void background
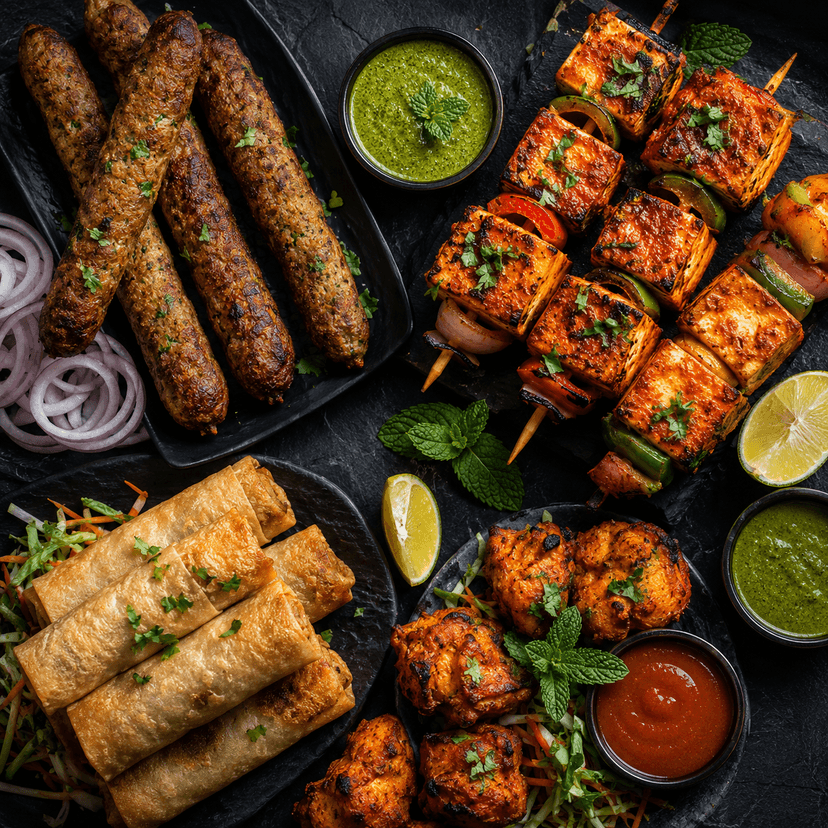
A textured surface makes the card feel full and natural after cropping.
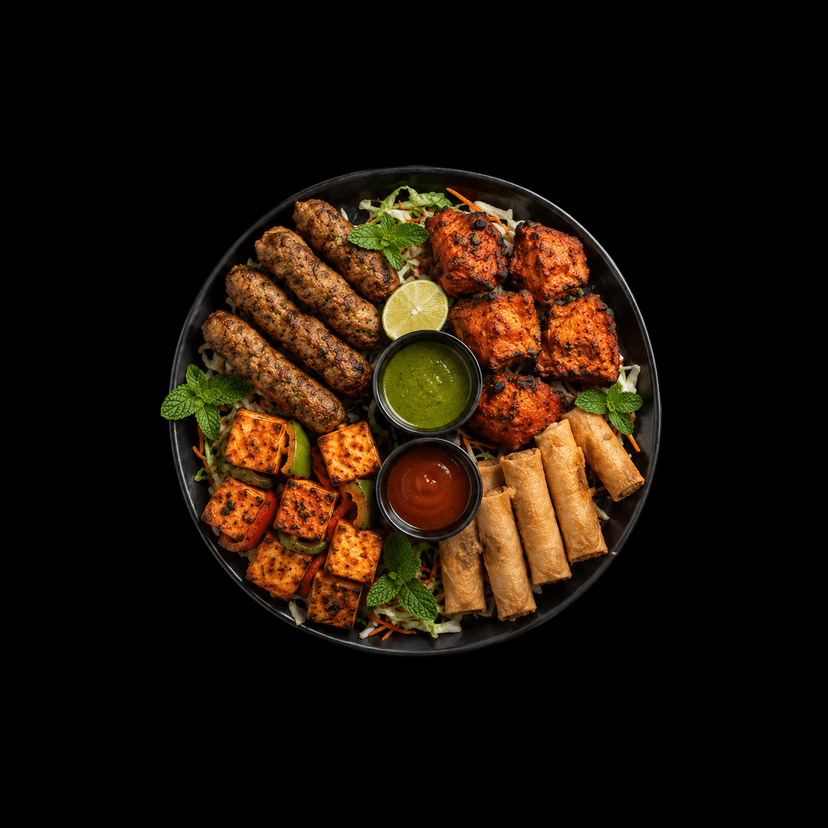
Pure black borders make the gallery card feel empty, even if the food itself looks good.
Set 4 - Sharp focus vs blurry phone photo
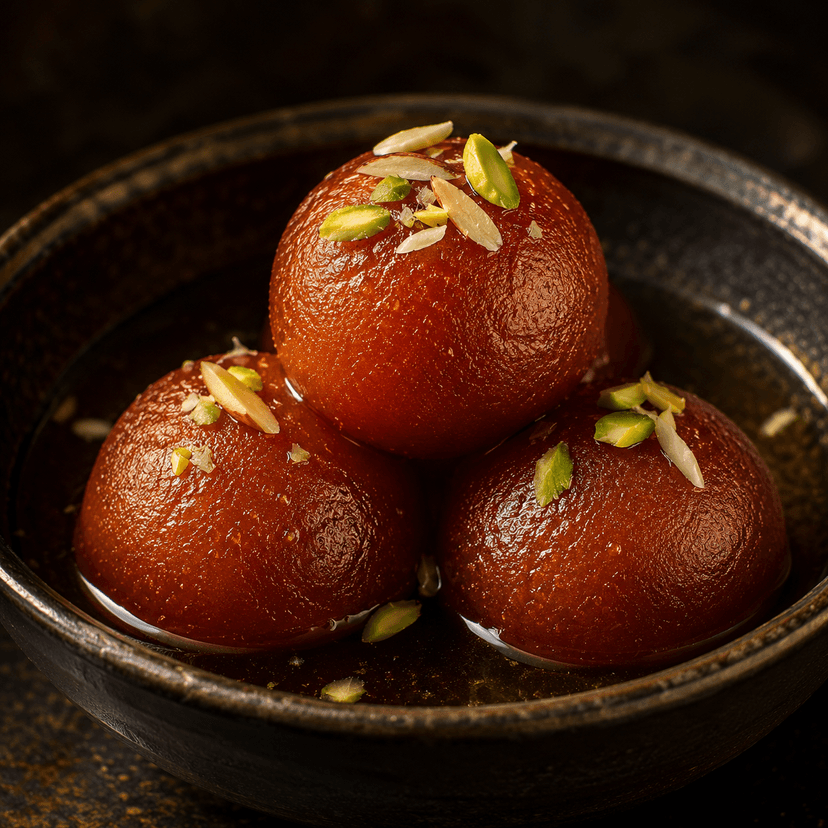
Sharp focus keeps the dessert glossy, detailed, and appetising.
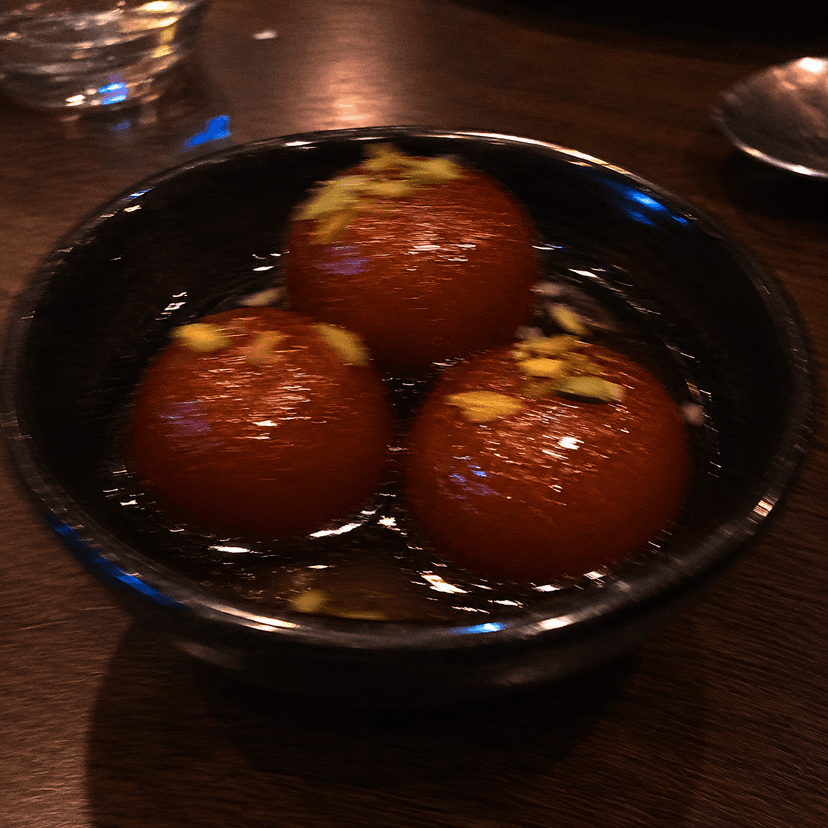
Blur and low light instantly reduce trust in the food quality.
Set 5 - Single subject vs cluttered table
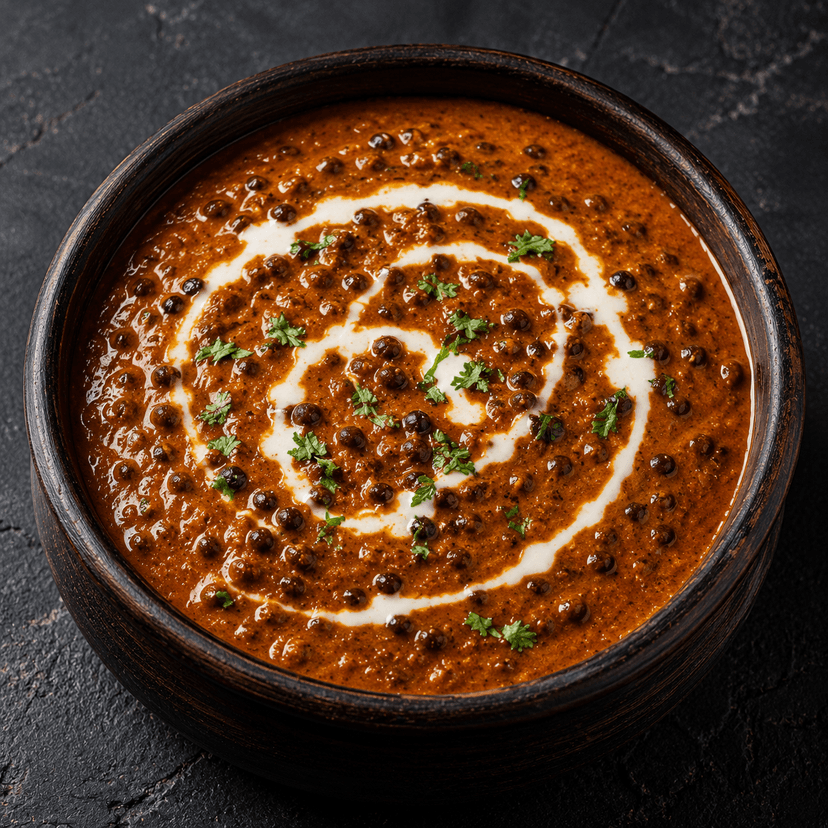
The food is clearly the hero, with no distractions competing for attention.
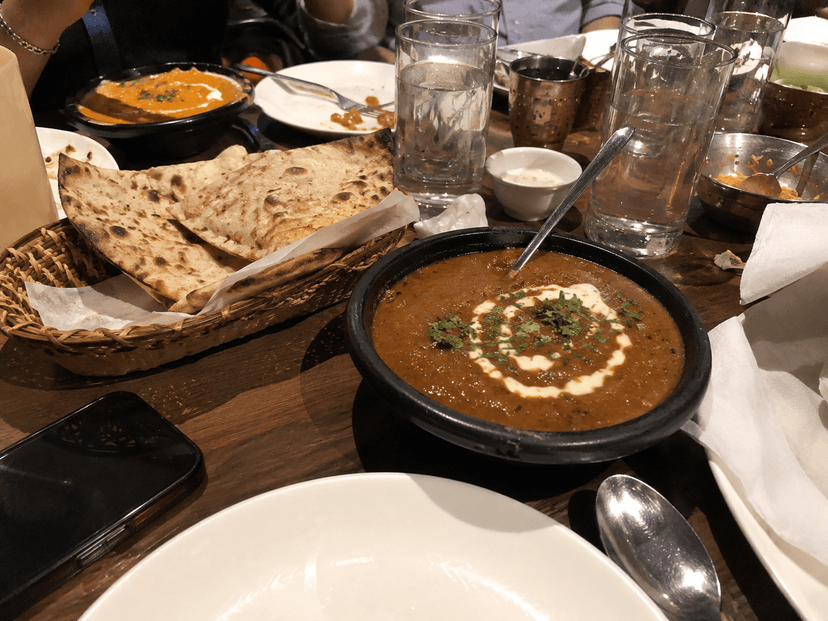
Background clutter steals attention and weakens the menu card.
Set 6 - Correct angle vs wrong angle
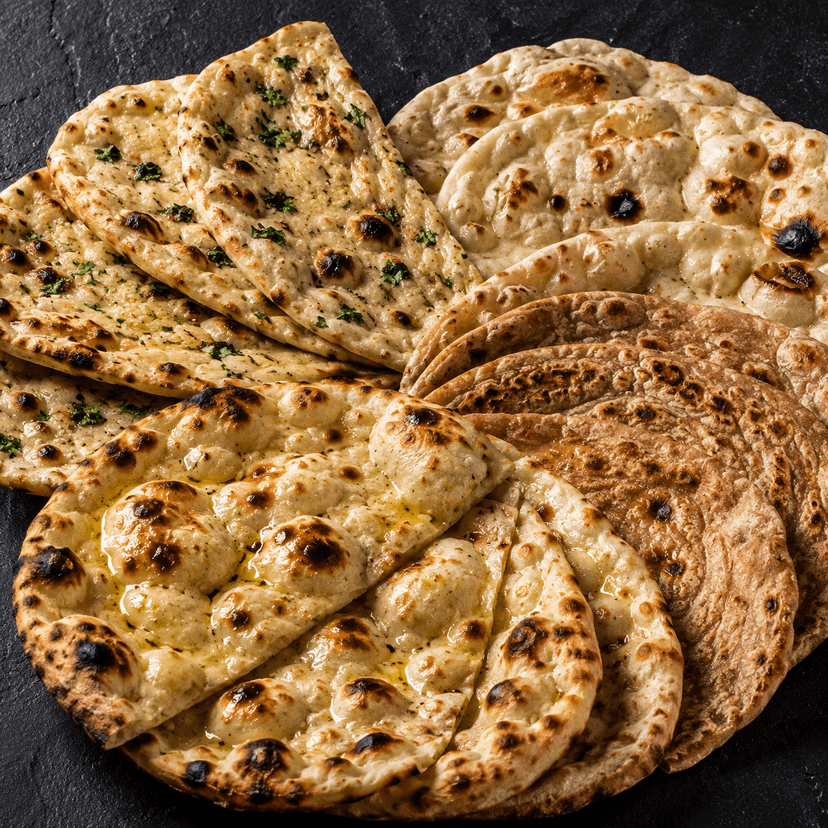
A 45-degree overhead angle shows texture and keeps the card focused on the food.
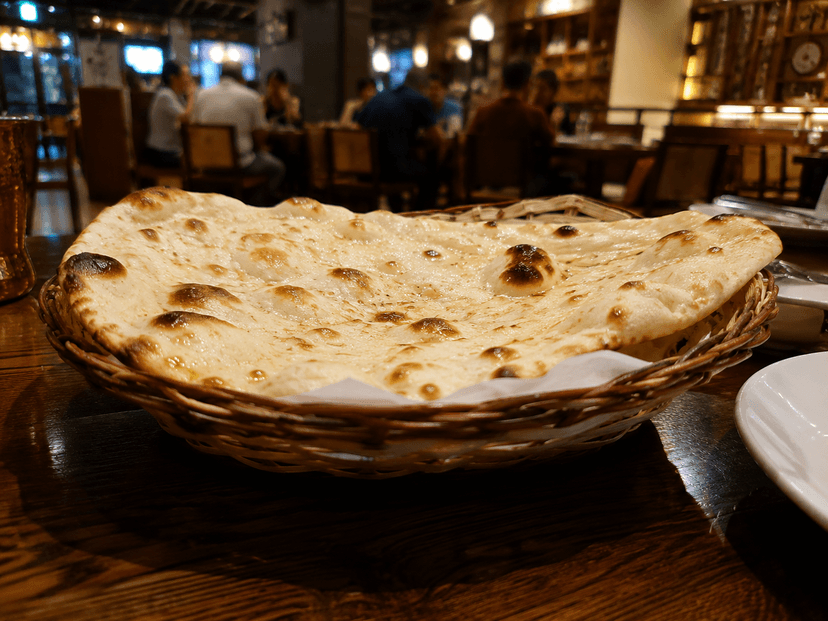
Eye-level shots show too much room and flatten the bread.
Use the examples below as a quick checklist before you upload a photo to your menu.
How to take it yourself with your phone
Step 1 - Use natural light Place the dish near a window during the day. If you are shooting at night, use one strong lamp from the side instead of the phone torch.
Step 2 - Get close Move your phone until the dish fills around 85 percent of the screen. If you can still see a lot of table around it, move closer.
Step 3 - Tap to focus Tap the dish on your screen before you shoot so the camera focuses on the food instead of the table or background.
Step 4 - Shoot from slightly above Hold the phone at around a 45-degree angle. Avoid a completely flat top-down shot and avoid straight eye-level shots.
Step 5 - Do not zoom Move the phone physically closer instead of pinching to zoom. Digital zoom makes the result softer and less useful for a cover card.
Step 6 - Clean the plate Wipe drips, smears, and fingerprints from the bowl or plate before taking the photo. Small details matter more than people expect.
How to generate a cover photo using AI for free
If you do not have a usable dish photo, you can make one with free AI tools.
Option 1 - ChatGPT
- Open ChatGPT and sign in
- Start a new chat and choose image generation
- Paste a prompt that describes the dish, the angle, the lighting, and the background
- Download the result and upload it to ZapMenu
Use this prompt structure and replace the dish name: Overhead flat lay of [your dish], filling the entire frame, dark textured slate surface, dramatic side lighting from left, ultra sharp focus, professional food photography, rich saturated colors, no text, no people, no empty space.
Option 2 - Microsoft Copilot
- Open Microsoft Copilot
- Choose the image generation option
- Use the same prompt format
- Download the image and upload it to your gallery category
Option 3 - Adobe Firefly
- Open Adobe Firefly
- Choose Text to Image
- Use the same prompt style
- Download the result and upload it to ZapMenu
Quick prompt templates by category
Use these as starting points in any image tool:
Starters / appetizers Overhead flat lay of crispy Indian appetizers platter, filling the entire frame, dark slate surface, dramatic side lighting, ultra sharp, professional food photography, rich colors, no text.
Biryani Overhead flat lay of chicken biryani in a copper handi, filling the entire frame, dark textured surface, steam rising, dramatic side lighting, ultra sharp, professional food photography.
Main course / curries Overhead flat lay of rich Indian curry in a dark bowl, filling the entire frame, cream swirl on top, fresh coriander garnish, dramatic side lighting, ultra sharp, professional food photography.
Breads Overhead flat lay of assorted Indian breads - naan, roti, and paratha - on dark slate, filling the entire frame, dramatic side lighting, ultra sharp, professional food photography.
Desserts Overhead flat lay of Indian sweets and desserts, filling the entire frame, dark textured surface, warm dramatic lighting, ultra sharp, professional food photography, rich colors.
Drinks Overhead flat lay of Indian drinks - lassi, masala chai, or rose sharbat - filling the entire frame, dark slate surface, dramatic side lighting, ultra sharp, professional food photography.
Indo-Chinese Overhead flat lay of Indo-Chinese chilli chicken close-up, filling the entire frame, dark textured surface, sesame seeds and spring onion garnish visible, dramatic side lighting, ultra sharp.
Uploading to ZapMenu
Once your image is ready:
- Open Dashboard -> Settings -> Design
- Make sure Gallery layout is selected
- Find the category under cover photos
- Upload the image
- Use the crop tool to position the dish exactly where you want it
- Save and preview the menu on your phone
If you need more help after uploading, open Dashboard -> Help.
One last tip
You do not need to perfect every category on day one. Start with the categories customers look for first, such as biryani, starters, and main course. A few excellent images are better than many average ones.
Strong cover photos improve the first impression of your menu before customers read a single line.